My 5-Step, 3-Ingredient Recipe for Festive Dark Chocolate Holiday Edibles
Bonus: They're dairy-free, too.
Earlier this week, we realized our edible stash was dwindling and it was time for a new batch of infused treats.
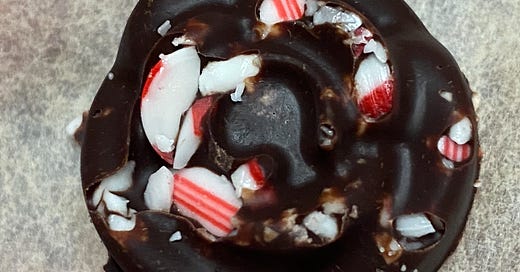
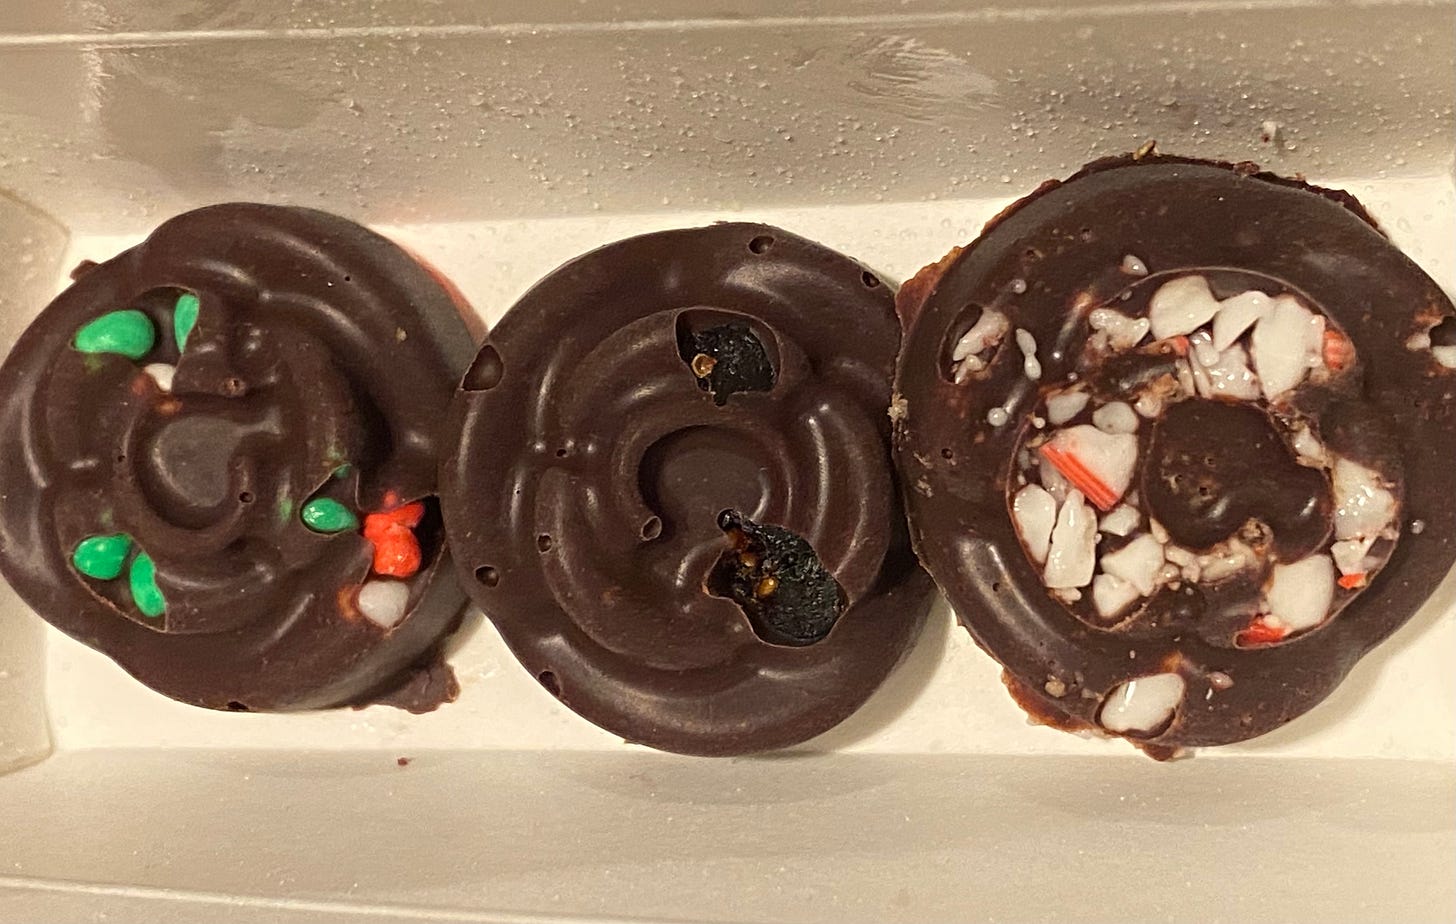
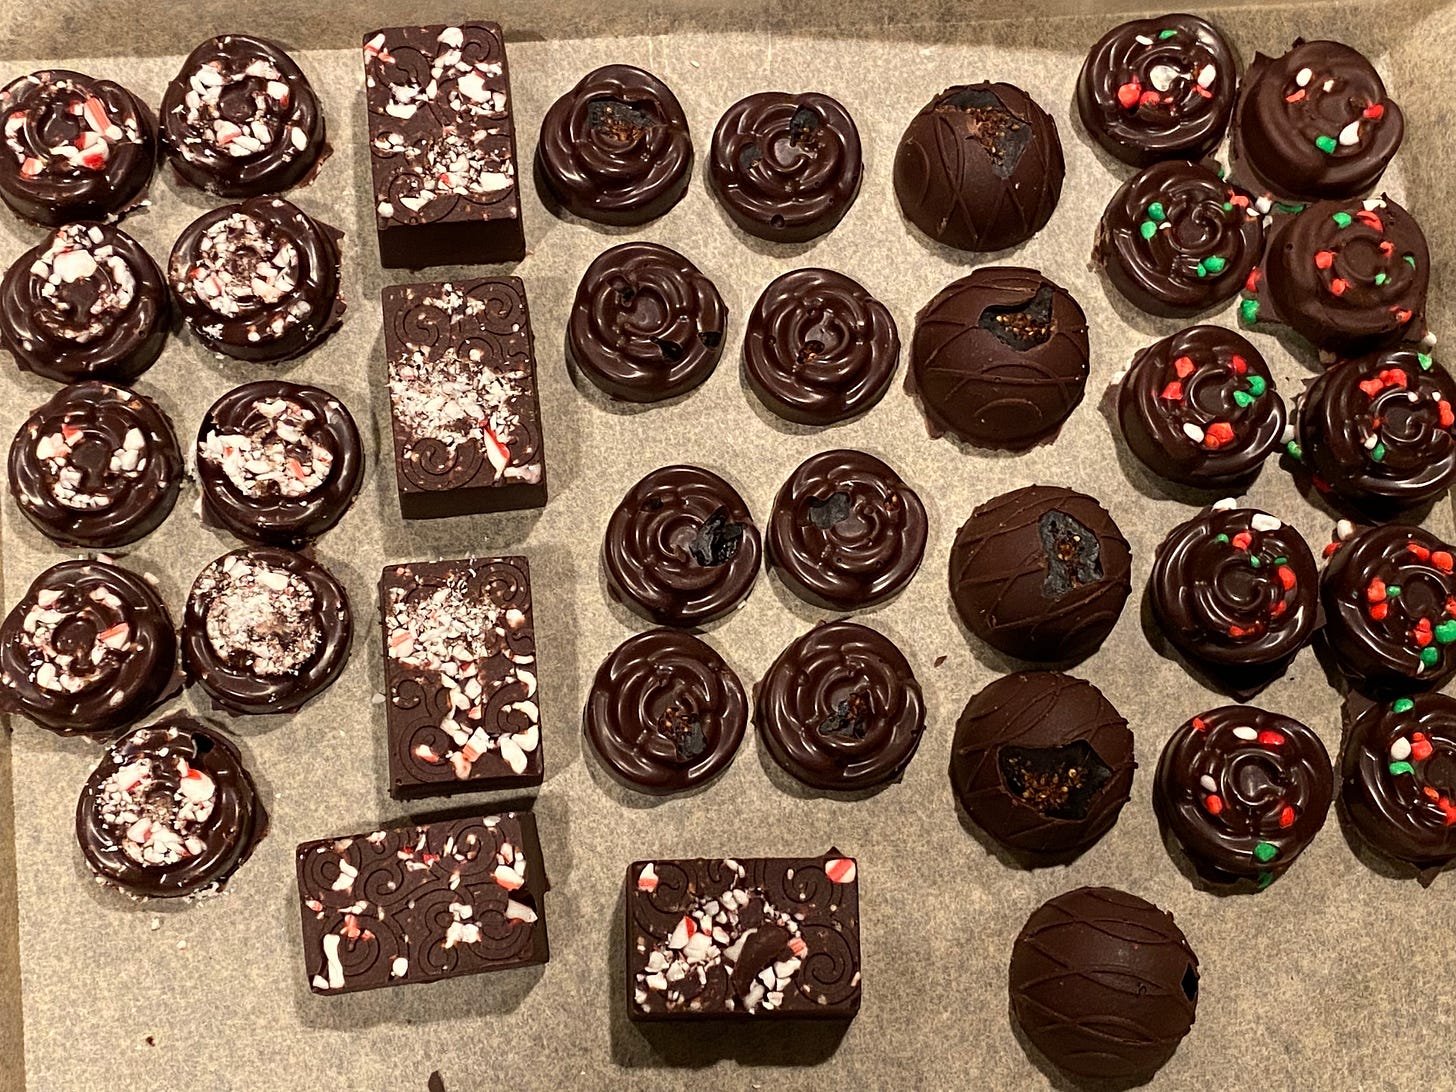
With the holiday season in mind, I added a few candies from the festive section of the grocery store (optional, but helps mix up flavors and looks nice). As these are dark chocolate edibles, I went with some sweeter options to offset the bitterness of the cacao, choosing personal favorites like candy canes and holiday-themed Nerds, as well as dried figs.
This easy recipe will have you enjoying your own cannabis-infused, holiday-themed chocolates.
Notes:
Makes: ~50 servings
Decarb Time: 30 minutes
Active Time: 20-25 minutes
Cooling Time: 30-60+ minutes
Dosage: Will vary based on inputs and molds (see below)
Supplies:
Glass measuring cup or mixing bowl (Pyrex or something heat-safe)
Parchment paper
Chocolate/Candy molds
Whisk/Rubber Spatula (silicon is great work working with chocolate)
3 Common Ingredients:
Cannabis Extract
This can be bubble hash, rosin, BHO, Distillate*, etc.
*If using distillate, you can skip Step 1 (decarb).
Dark Chocolate
I used a mix of 55% & 72% cacao
~2 cups = ~50 servings (depends on mold size)
Ideally, choosing a chocolate with lecithin (known emulsifier) will assist with efficacy
Optional: Candy for Topping
I used Holiday Nerds, 1 sliced/chopped fig, & 1 Candy Cane
5 Simple Steps:
1. Decarb extract.
Bake on parchment paper at 235ºF for 30 min.
In some cases, it takes a little longer (especially if using large amounts of hash/rosin/extract), but have found anything more and I start to lose efficacy, any less and the edibles aren't as potent as desired.
Skip this step if using distillate.
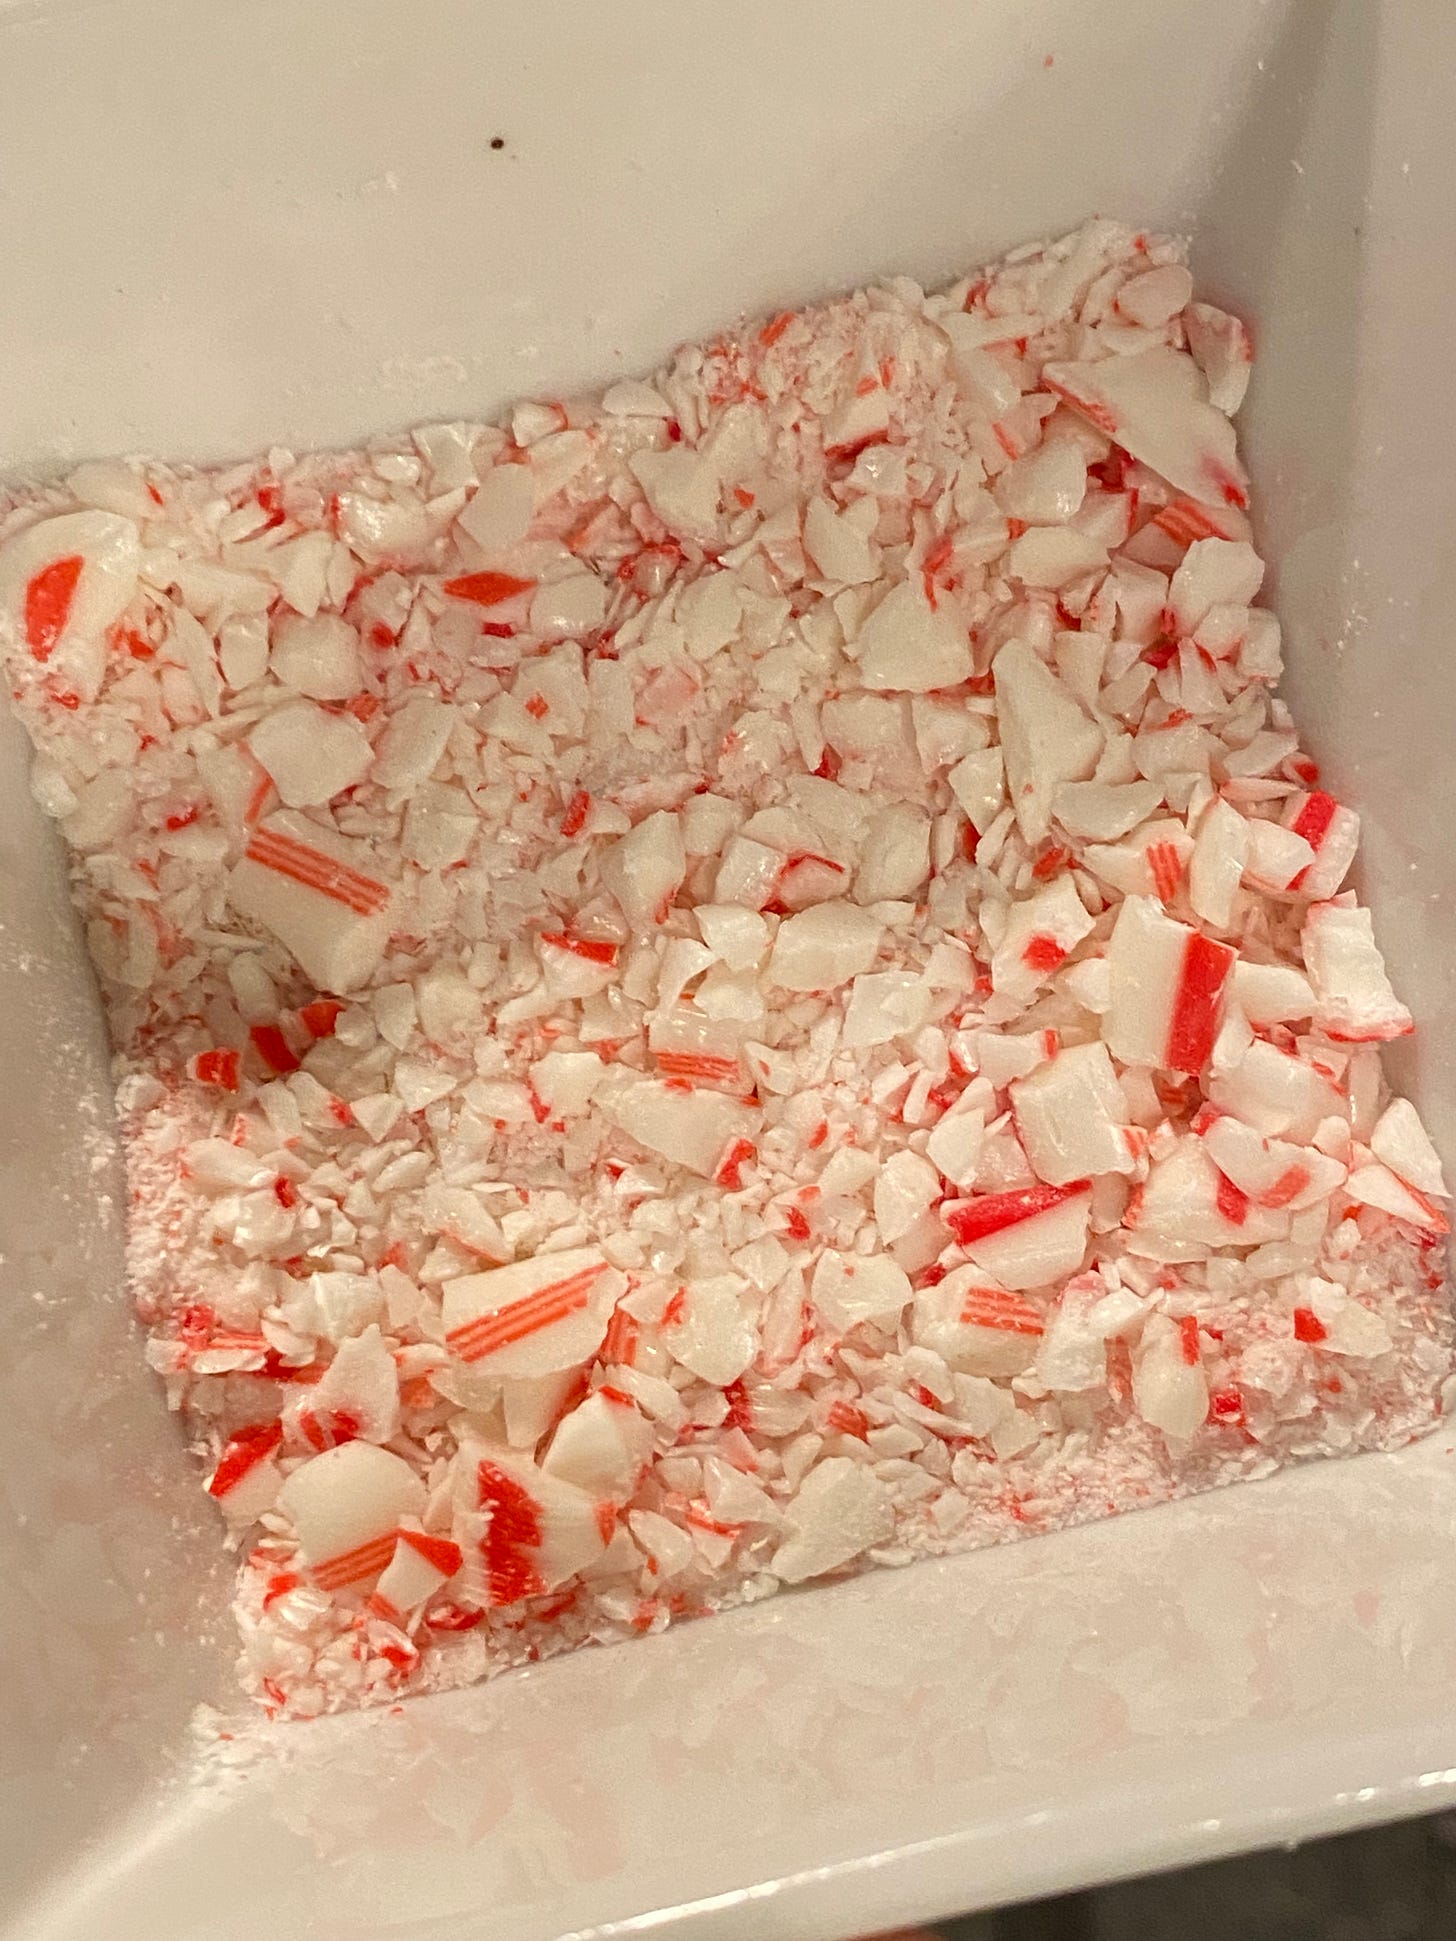
2. Crush candy (optional)
Crushed candy adds a twist to an otherwise pure dark chocolate edible.
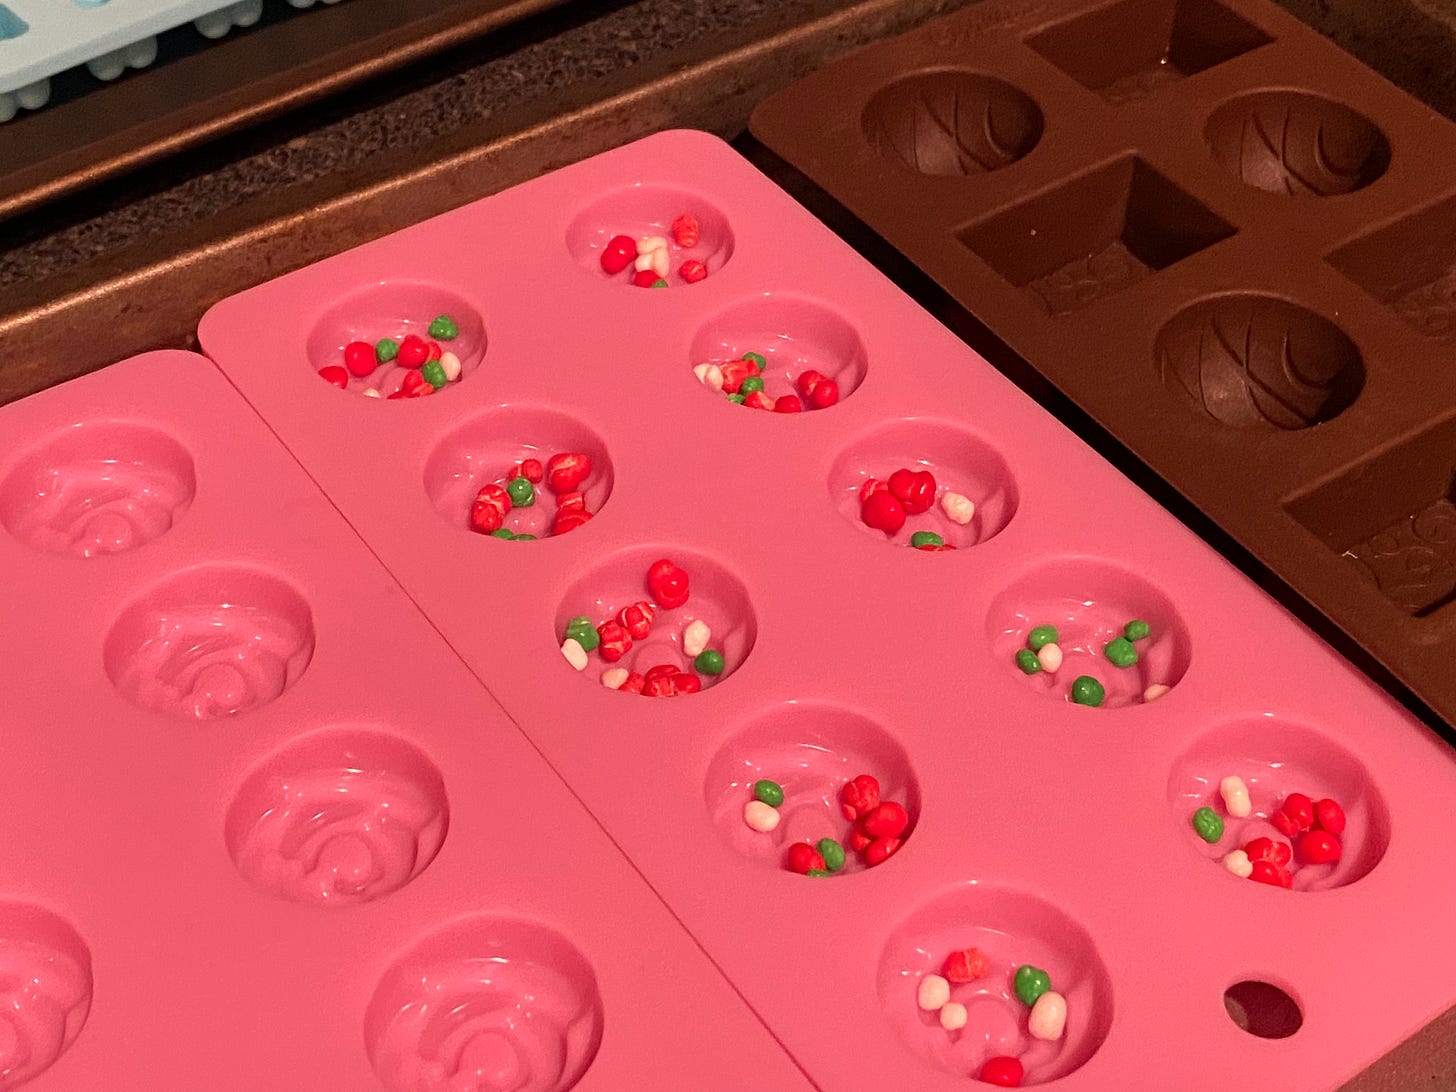
The best way to do this is sprinkle a fine/single layer of candy in your molds before you fill them with chocolate
You can also sprinkle any leftovers on top of the molds once filled/before cooled.
3. Melt Chocolate.
The best way to do this without burning your chocolate is a double boil method
Using a small pot, fill with enough water to boil around your glass cup or bowl (if setting bowl on top of pot, can fill about halfway; if using measuring cup within the pot, try to have enough water so that all of your chocolate is evenly surrounded.)
The idea is to use the heat of the water to uniformly warm up the chocolate rather than heating from the bottom alone (no one likes burned chocolate!)
Heat the pot of water on medium heat (I like 4-5 on the stove depending on how hot yours gets) with your glass container of chocolate in the water or in a bowl on top of the pot
Tip: it takes about 15-20 minutes of heating the chocolate slowly to get it fully melted. Don't rush this process. You can begin while the extract is decarbing so that your timing overlaps and your chocolate is melted when your extract is ready.
4. Mix extract + chocolate.
Remove extract from oven being careful not to spill it.
While stirring consistently, mix extract into chocolate. You can use the chocolate to pull the extract from the parchment if needed (remember, it's impossible to get every last drop; there will be some wasted, and that's ok!)
Continue to stir until confident that extract is thoroughly mixed into chocolate (uneven mixes result in uneven dosing)
5. Pour & allow to cool.
Once evenly mixed, pour infused chocolate into candy molds
I find it helpful to lay my molds on a baking sheet for easy transport & spill protection when moving/cooling.
Let sit 30-60 minutes (or longer) to allow chocolate to cool and take the form of your molds.
Once cooled, remove 1-2 chocolates from the molds to make sure chocolate isn't squishy as you pull it out.
Place in a container and store in cool temps (I prefer to keep mine in the fridge to avoid accidental melt incidents)
Note: these chocolates are not "tempered," meaning that they will be more susceptible to melting at warm temperatures. (AKA don't put them in your pocket or leave sitting by the fireplace).
Once you've popped your molds and packaged up your chocolates, you're ready to dig in and enjoy one.
Make sure you've calculated the dosage properly (see below) to avoid unexpected effects.
Important Dosage Note:
Dosage varies based on extracts used and quantity of chocolates made. Always better to start low and add on.
If using extracts from a licensed business, use the listed THC content to calculate dosage.
If using untested product, I typically use the following guidance:
Bubble Hash - 40-50% THC
Rosin & Live Resin (BHO) - 60-75%
Shatters, Sugars, Distillates - 75-99%
I recommend starting with 0.5-1 gram of extract for 50 pieces unless aiming for high-potency products.
You can always eat more than one chocolate!
Helpful Tips:
Once you finish and know how many chocolates you've made, divide total THC used (in milligrams) by the total amount of chocolates made.
If you end up with chocolates that vary in size and weight, and divide by total weight of your batch, then multiply the result by the total THC input.
Example:
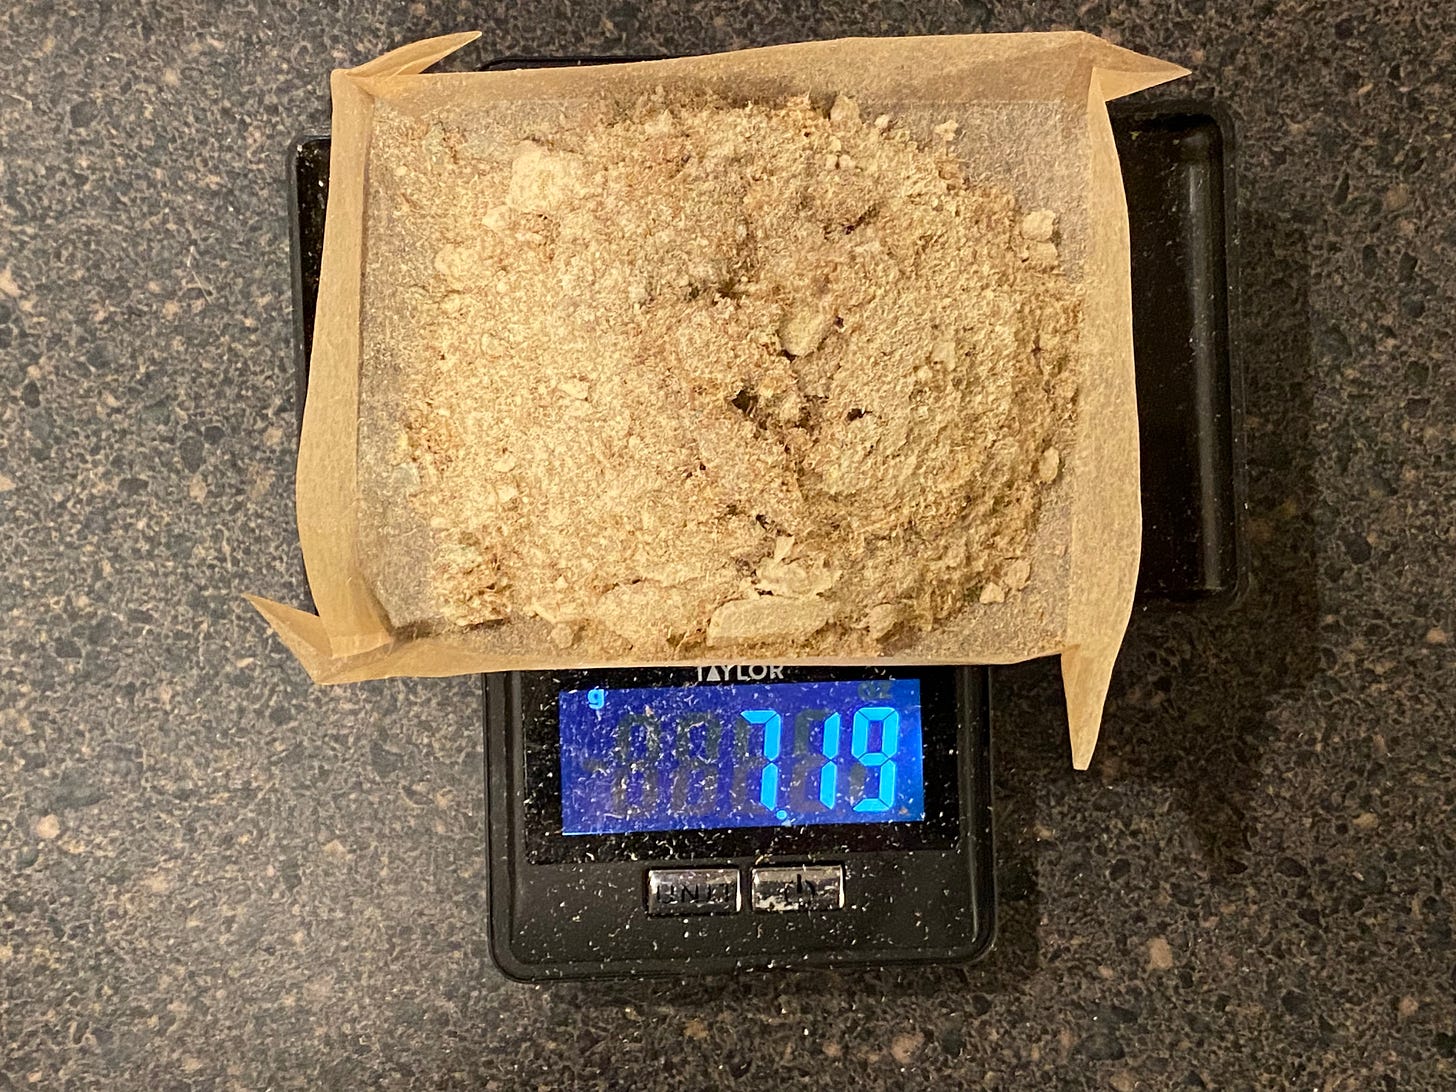
I used 7.2g (7200mg total weight) of untested bubble hash.
Estimating 40% THC/gram = 2880 (THC input)
My batch made 37 chocolates, but 10 of them were 2x the size of the others (so total 'servings' would be 47)
In any cooking process, there will be waste (on the spatula, on the bowl, on the parchment, etc.). It's important to account for this.
Assumed Loss: 3 full servings (both from extra pieces trimmed from molds as well as what was left in the measuring cup)
2880mg/50 servings = 57.6mg/serving (small chocolate = 1 serving, large chocolate = 2 servings)
Keep reading with a 7-day free trial
Subscribe to The Hobby Grow to keep reading this post and get 7 days of free access to the full post archives.

